The
Key Fob (FOBIK)
Disassembly
By
TJGS (Challenger enthusiast)
|
This will deal with taking apart
your key fob. Part:1 will show you how to change the battery. Part:2 will show you how to take it apart for cleaning the
circuit board. If your battery is good and the fob
works intermittently or not at all, you may need to clean the circuit board. How do you know if the battery is
good ? If you have the EVIC it will notify you if the battery is low. If you don't have the EVIC you will have to test the button
battery for voltage.
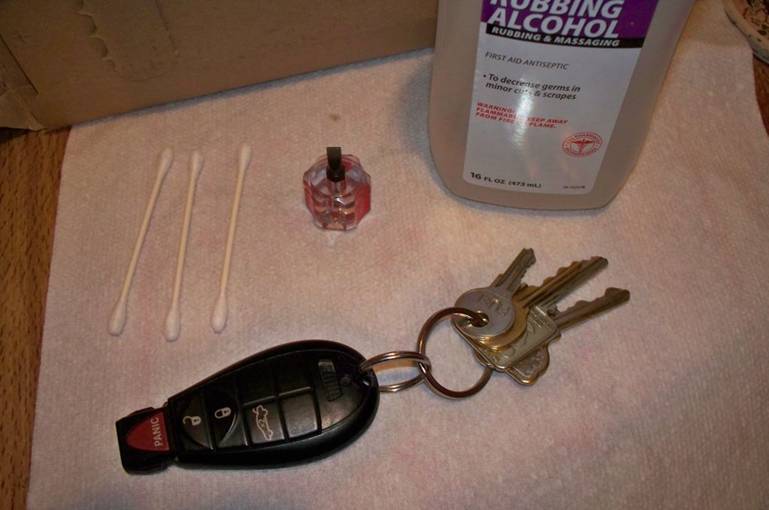
Whether
your changing the battery or just cleaning the circuit board you will need to
start with these items. Alcohol
for cleaning, Q-tips and a flat blade screwdriver with a 3/16 tip. If
you have an anti-static mat, place the fob on it while doing these
procedures. If you don't no problem, just
touch something metal that is grounded to drain any static charge you may
have on your body.
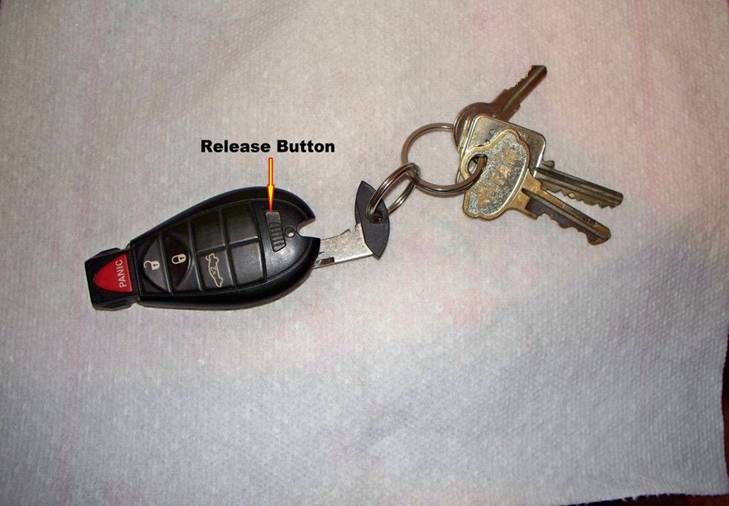
You
will first have to remove the valet key from the fob. Slide the release
button to remove the key.
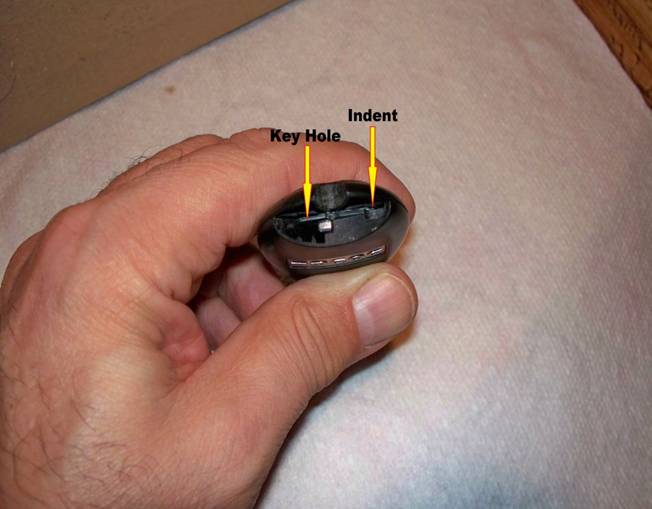
After
removing the valet key, you will see an indent to the right of the area where
the key was.
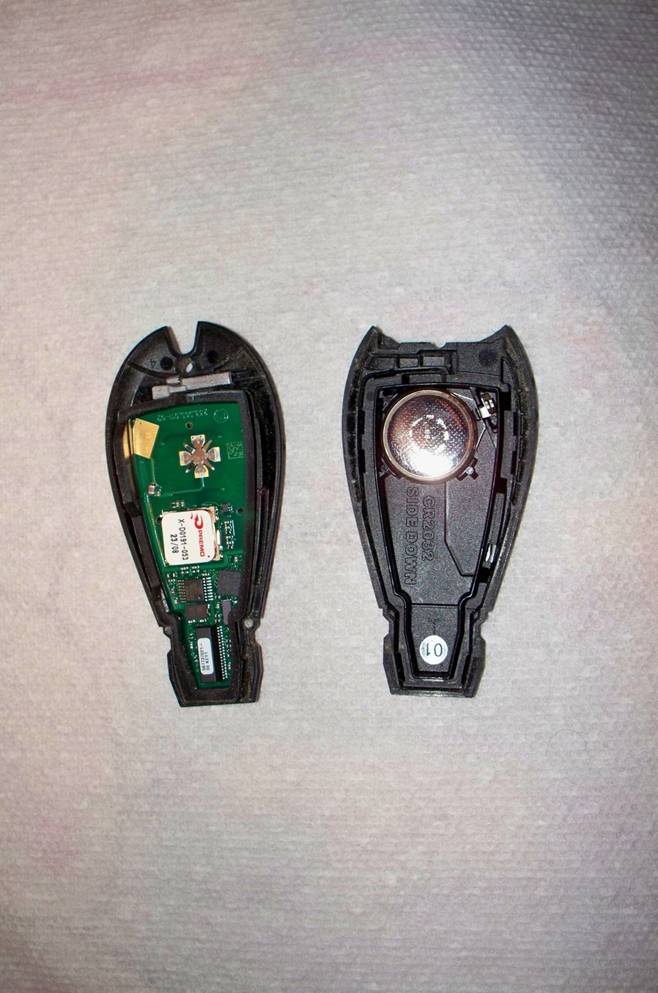
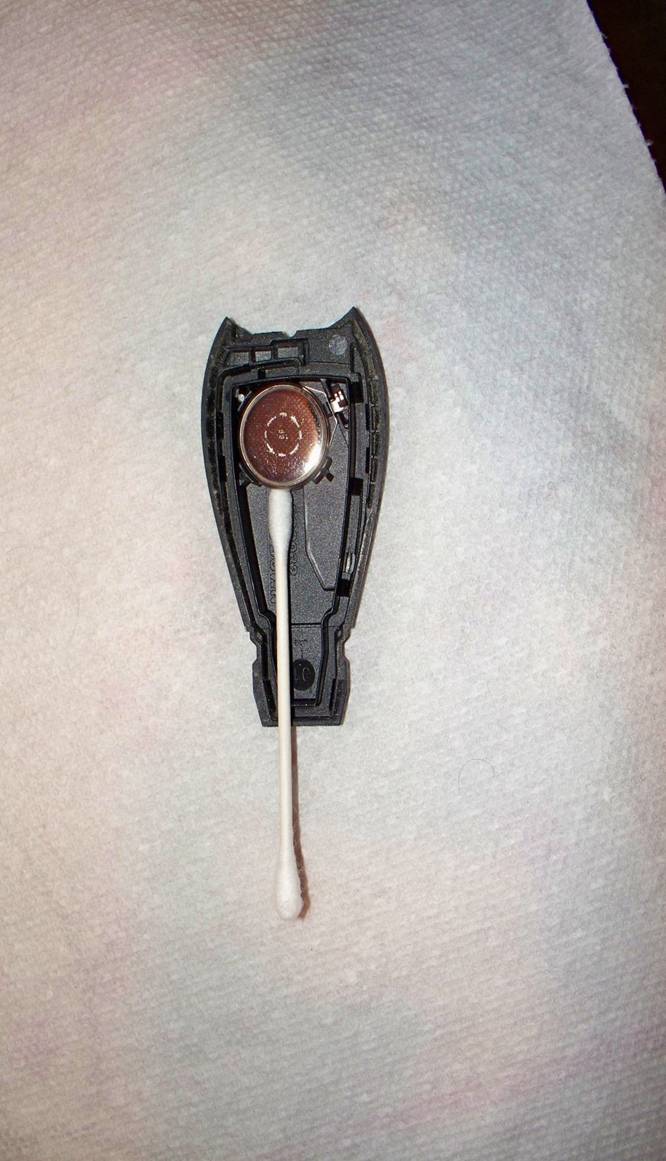
Do
not touch the battery or it's contact points to the fob with your bare hands.
Make
sure the battery is inserted correctly and is the correct number. Mine is a CR 2032. When
snapping the halves back together, make sure the seams are flush with each
other.
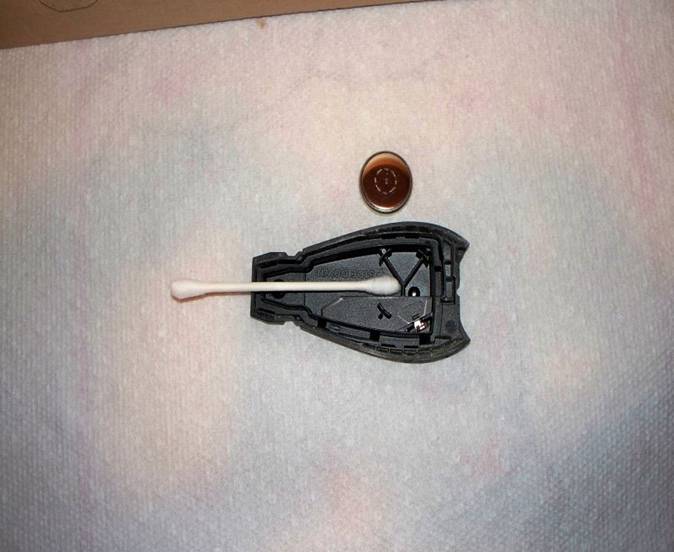
You
push the button assembly out from the housing.
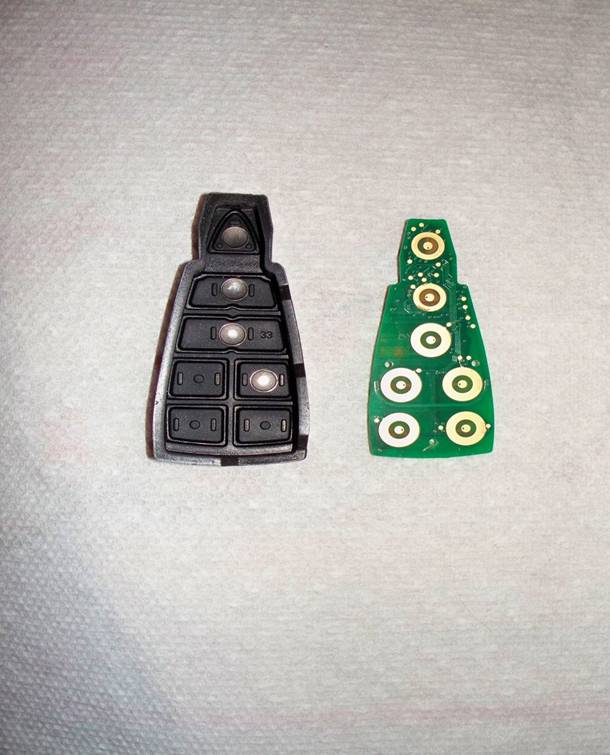
You
then carefully remove the circuit board from the rubber button cover and
it'll look like this.
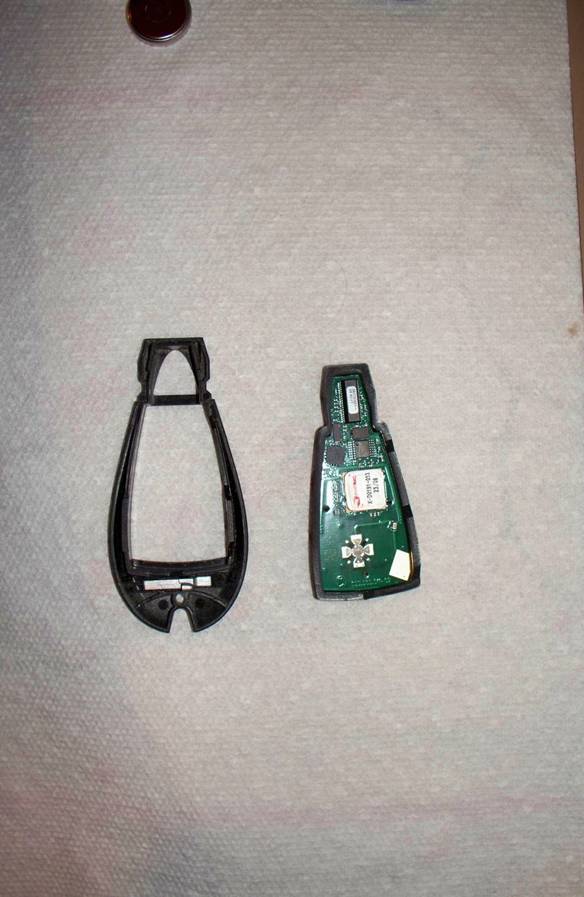
This
is a comparison of the circuit board with the rubber buttons cover that sits
on top of it when assembled.
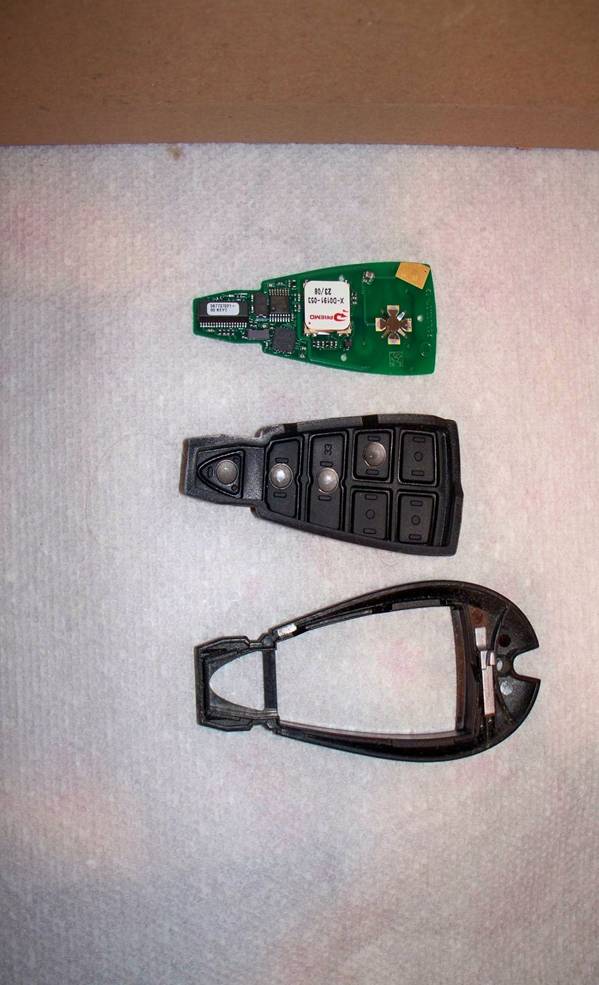
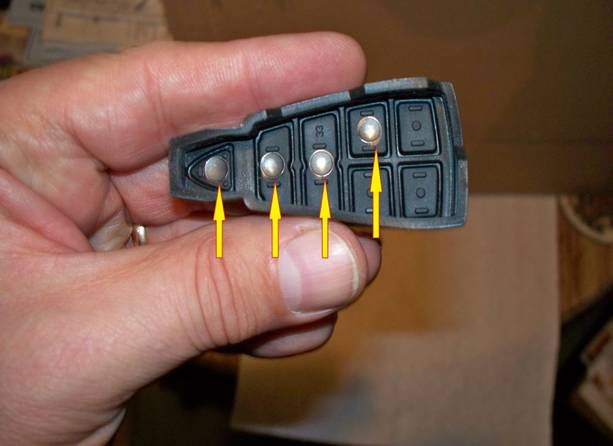
This
is what the underside of the button pad looks like. Note the circles that
correspond to the circuit board.
These
circles are what you will clean with a Q-tip dipped in alcohol.
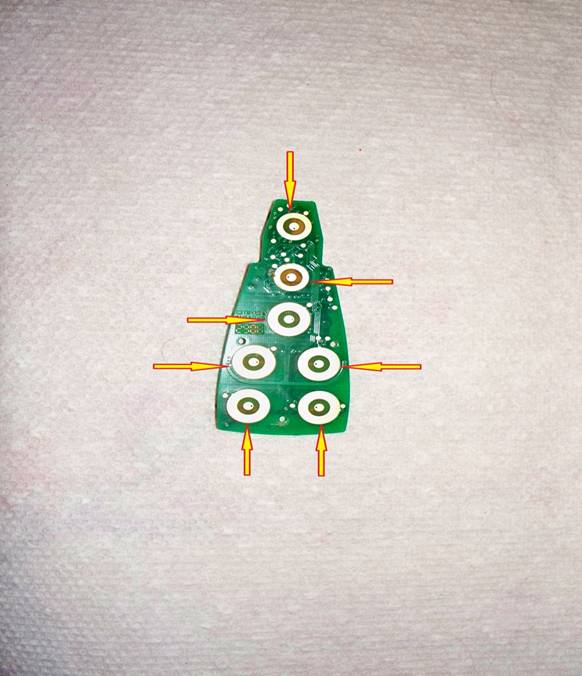
Do
the same to the circuit board. Hold the board by it's edges and do not touch
the cleaned surface with you fingers.
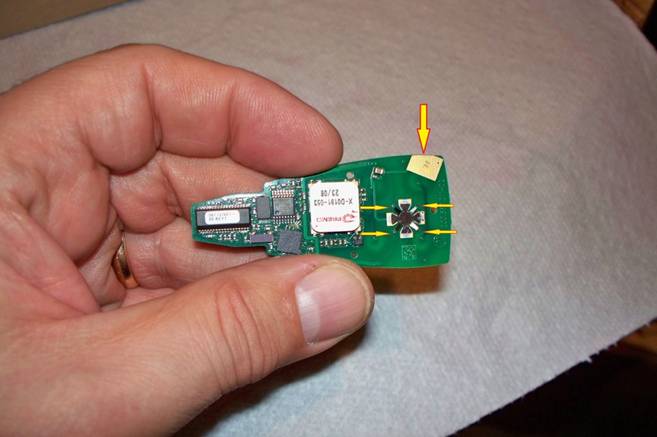
On
the flip side of the circuit board clean these areas as well. The
four prongs sticking up are what connect to the button cell when assembled. Re-assemble
the fob and your good to go. |